Overview
In the Infosys Equinox Commerce, Inventory service maintains the SKUs as bin items in the bins. You need to import bin items before setting up a storefront site. The Inventory import sheet (tab name: BinItem) contains the following fields:
| Field | Description |
| Bin_Name | Holds the name of the bin to which bin items (SKUs) are added. |
| SKU_Id | Specifies the ID of the SKU (bin item) to be added to the bin. |
| Status | Holds the status of the bin item. The value can be 0 or 1. The value 1 indicates active status. The value 0 indicates inactive status. |
| ATP_Quantity | Holds the ATP (Available to Purchase) quantity of the bin item to be added. |
| Back_Ordered_Quantity | Holds the back-order quantity of the bin item to be added. |
| Low_Stock_Threshold | Holds the low-stock threshold of the bin item to be added. |
| Out_Of_Stock_Threshold | Holds the out-of-stock threshold of the bin item to be added. |
Note: For more details on Inventory service, see Inventory – Infosys Equinox Developer Portal.
Importing Bin Items
To import bin items via Inventory Bin Item Import feed,
- Create an inventory collection in the Foundation Admin console.
Note:- A default bin is created automatically whenever a new collection is created. If you are using the default bin, there is no need to create a bin. Otherwise, you can create bins via bin import feed or Inventory Swagger.
- The bin items import feed also creates bins mentioned in the sheet before importing the bin items under the bins.
- Navigate to the Feeds service Swagger link https://<<EnvironmentName>>.skavacommerce.com /feedservices/swagger-ui/
Note: <<EnvironmentName>> should be replaced with the deployment environment name. - Get the auth token by using the steps given below:
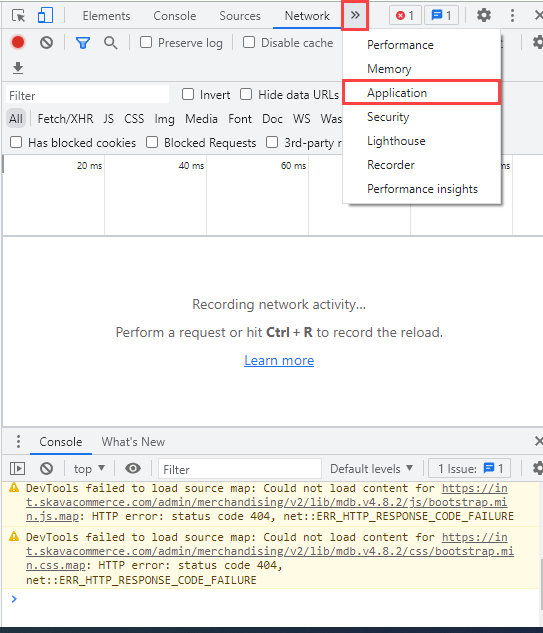
- Press F12 when you have successfully logged in to the Infosys Equinox Commerce Admin console. The browser inspect popup appears:
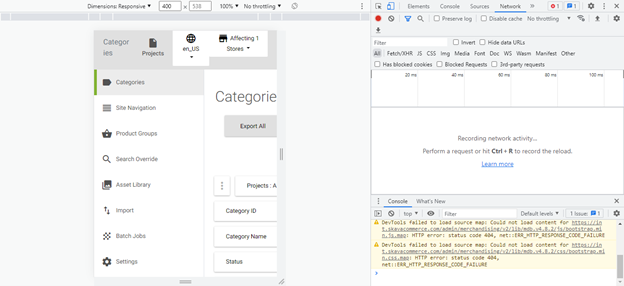
- In the popup, navigate to Application.
- Select the URL under Cookies.
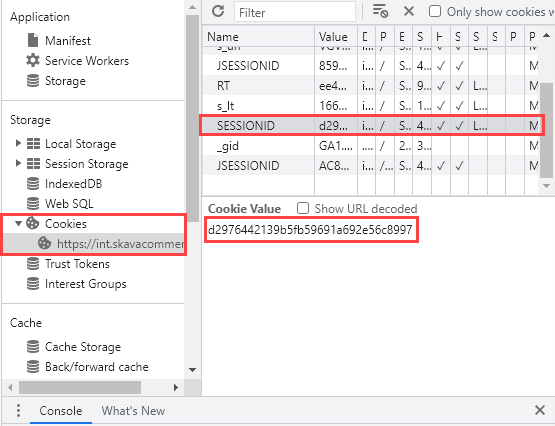
- Click on the row SESSIONID.
- Copy the Cookie Value of SESSIONID.
- Open the API https://<<EnvironmentName>>.skavacommerce.com/authservices/swagger-ui/Session/getSession
- Click Try it out.
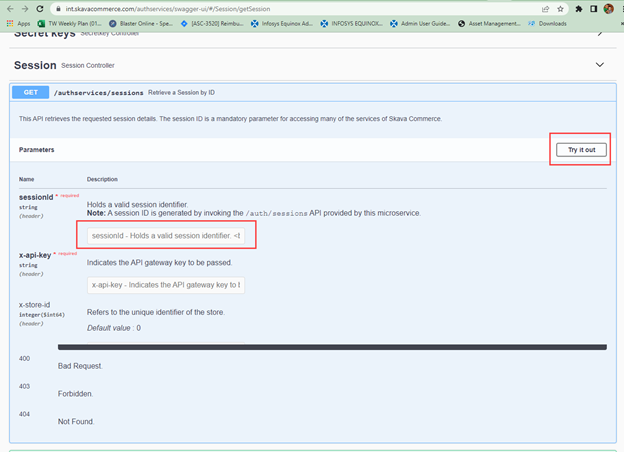
- Provide the sessionId.
Note: You can give any value for x-api-key. - Click Execute.
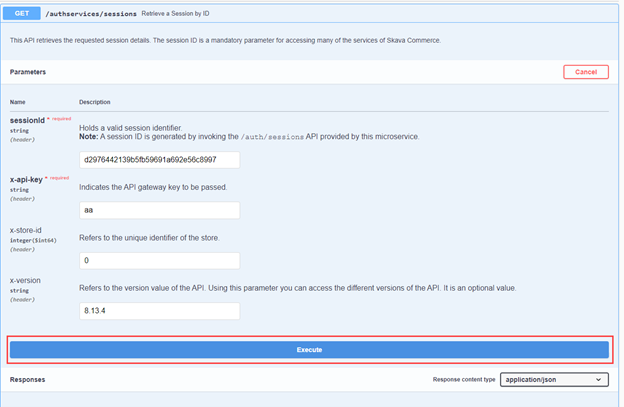
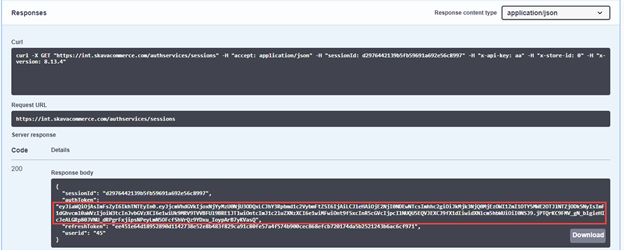
- Copy the authToken value from the response.
- Press F12 when you have successfully logged in to the Infosys Equinox Commerce Admin console. The browser inspect popup appears:
- Click on Feed Jobs controller to create a feed job.
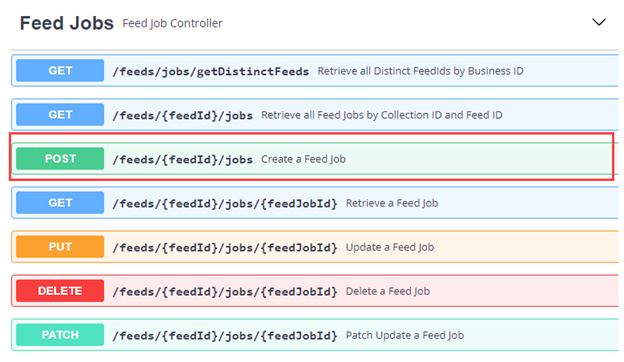
Note: Whenever you need to run the feed, feed job is mandatory for scheduling the feeds. - Navigate to Create a Feed Job API https://<<EnvironmentName >>.skavacommerce.com/feedservices/swagger-ui/Feed_Jobs/createFeedJob
Note: <<EnvironmentName>> should be replaced with the deployment environment name. In the API call,- Provide businessId.
- Provide feedId as binItemImport.
- Provide any value for x-api-key.
- Provide x-auth-token.
- Provide inventory collection ID as x-collection-id.
Note: You can get the search collection ID from the Service Association page. - In the API call, provide the below post data for creating a feed job:
{
  “feedId”: “binItemImport”,
  “jobId”: “<<InventoryCollectionID>>_binItemImport”,
  “businessId”: “<<BusinessID>>“,
  “collectionId”: “<<InventoryCollectionID>>“,
  “serviceType”: “inventory”,
  “name”: “bin item import”,
  “description”: “bin item import feed job”,
  “status”: “ACTIVE”
}
Note:- <<InventoryCollectionID>> should be replaced with the Inventory collection ID.
- <<BusinessID>> should be replaced with the business ID.
- Click the Job Schedules controller.
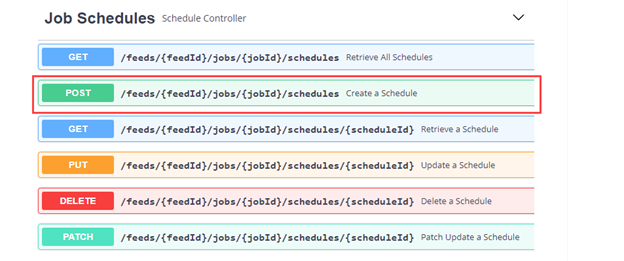
- Navigate to the Create a Schedule API https://<<EnvironmentName >>.skavacommerce.com/feedservices/swagger-ui/Job_Schedules/createSchedule
Note: <<EnvironmentName>> should be replaced with the deployment environment name. In the API call,- Provide businessId.
- Provide feedId as binItemImport.
- Provide any value for x-api-key.
- Provide x-auth-token.
- Provide inventory collection ID as x-collection-id.
Note: You can get the search collection ID from the Service Association page. - In the API call, provide the below post data for creating a schedule for BinimportImport feed:
{
  “scheduleId”: “<<ScheduleID>>”,
  “businessId”: “<<BusinessID>>”,
  “collectionId”: “<<InventoryCollectionID>>”,
  “feedId”: ” binItemImport “,
  “jobId”: “<<InventoryCollectionID>>_ binItemImport “,
  “name”: “BinimportImport”,
  “description”: “BinimportImport”,
  “status”: “ONDEMAND”,
  “state”: “RUNNING”,
  “repeatInterval”: 0,
  “feedInterval”: null,
  “maxRunTime”: 0,
  “startTime”: “2018-08-27T00:00”,
  “endTime”: “2025-08-27T00:00”,
  “params”: [
    {
      “name”: “collectionId”,
      “stringValue”: “<<InventoryCollectionID>>”
    },
    {
      “name”: “inputFileCdnUrl”,
      “stringValue”: “<<InputFileCDNURL>> ”
    }
  ],
  “serviceType”: “inventory”
}
Note:
- <<InputFileCDNURL>> should be replaced with a S3 URL. You need to upload and convert the data in the sheet to S3 and provide S3 URL in the above post data. You can get import sheet’s S3 URL from the Import page in the Infosys Equinox Commerce Admin consoles (any admin consoles that has Import functionality). For example,
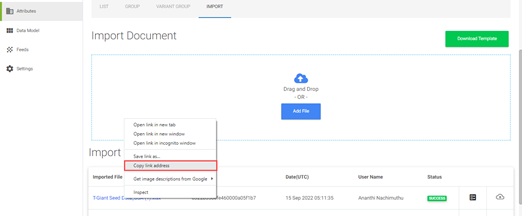
- The value of ScheduleID should be unique while making the feed schedule call. For example, BinimportImport_schedule1648201474
![]()
Revision History
2022-11-01 | AN – Updated Swagger URL for release 8.12.
2022-10-10 | AN – Page created and content uploaded.